
Over the last few years I’ve moved from working entirely in a Windows environment, to trying Linux in a virtual machine (Kali and Buscador), before dual booting my PC (Windows 10 / Linux Mint) before finally ditching Windows completely and settling on an OSINT build that runs entirely in Linux Mint. Mint is derived from Ubuntu and under the hood they’re very similar. The only reason I went with Mint was because it had slightly better driver support out of the box, and I preferred the Cinnamon desktop environment that came as standard with Linux Mint.
There are many reasons to switch from Windows to Linux, and not just for OSINT. Linux is very light on system resources and is very stable. I haven’t had a system crash ever since I installed Linux Mint 18.3 on my PC at the end of 2017. The ability to customise my workspace in an infinite number of ways and being able to easily integrate the ever-growing number of OSINT tools available from GitHub means that Linux is a much more productive working environment for me.
DIY Buscador
Most people in the OSINT community will have made use of Mike Bazzell’s IntelTechniques site at some point. Sadly a few malicious idiots caused a lot of problems for his website and Mike now has to run his site without the tools but fortunately his Buscador OSINT virtual machine is still available to download here.
Buscador itself is a customised Linux virtual machine based on Ubuntu. So as a little project I decided to see how easy it would be to create a DIY-Buscador machine for OSINT work using newly released Ubuntu 20.04 as a base operating system. In this series of posts I’m going to show how to create a dedicated Linux OSINT virtual machine and customise it with a wide range of tools. The tools I’ve chosen overlap a lot with those in the original Buscador, but this series of posts will show how you can easily install any software you want either from the Ubuntu software centre, directly from other internet sources, or by using the command line to install tools from GitHub.
This guide assumes you don’t have much experience with virtual machines or Linux, but by the end of it you’ll be able to build your own powerful Linux OSINT virtual machine at zero cost and customise it exactly the way you like it.
Requirements
1. Install VirtualBox. Get it for Windows here, Linux here, or for Mac here. Some Linux distros like Manjaro, Mint, and Ubuntu will already have Virtualbox in the depositories and it can be installed directly from there.
2. Download a copy of the Ubuntu 20.04 Desktop ISO from here.
3. Ubuntu is pretty light on system resources. It requires a minimum processor speed of 2.0ghz, 2GB of RAM, and 20GB of disk space. In this guide the DIY-Buscador virtual machine will be allocated 4GB of RAM and 30GB of disk space, which is more than enough for it to run smoothly.
Update – July 2020
This series of posts originally used Ubuntu 19.04. However in April 2020 a newer version of Ubuntu was released, version 20.04. This is an LTS (Long Term Stable) version of Ubuntu and it will continue to receive updates and support for a full five years so it’s a good platform to build an OSINT VM on.
The screenshots in this series of posts are from Ubuntu 19.04, but it is visually and functionally identical to Ubuntu 20.04 in almost every way. The only significant difference is that Ubuntu 20.04 no longer has Python 2.7 installed by default, since support for Python 2.7 ended in January 2020. There are a few Python tools in part 4 that may be affected by this but the article will be updated in due course.
Getting Started
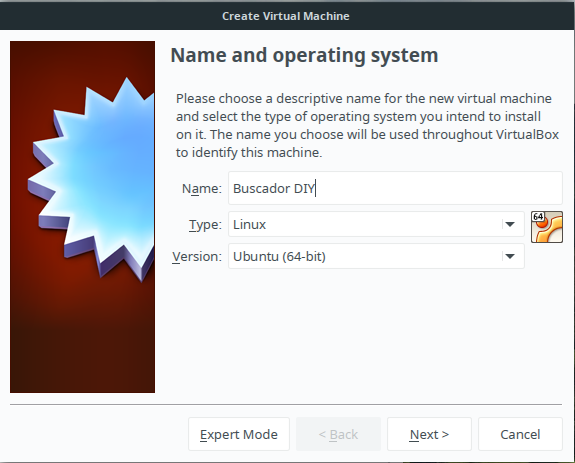
Once Virtualbox is installed. Click on “New” to create a new virtual machine. Enter the name of the virtual machine you want to create, and specify the type of machine it’s going to be. In this case the machine will be called Buscador DIY. The type will be “Linux” and the version will be Ubuntu 64-bit.
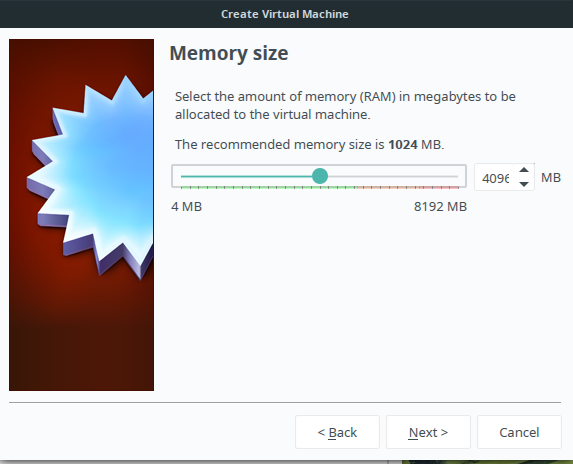
Set the amount of RAM. Ubuntu 19.04 requires 2GB as a minimum but it’ll run a bit more smoothly with 4GB:
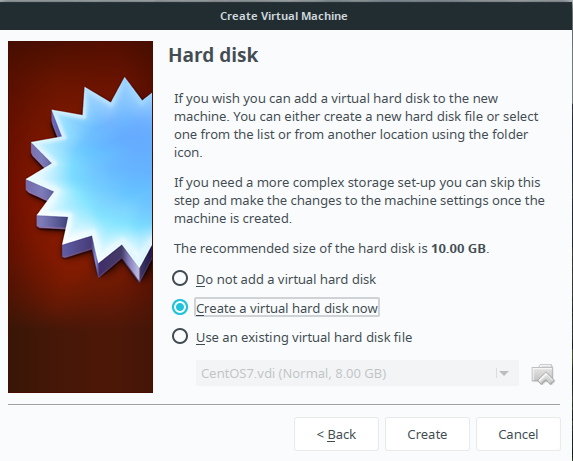
Create a virtual hard disk. This is the space that your virtual machine is going to be allocated to run in. Ignore the recommendation to set the size to 10GB – it’s far too small. It’s also really difficult to increase the size of a virtual machine hard drive after you’ve created it, so better to create one too large than too small.
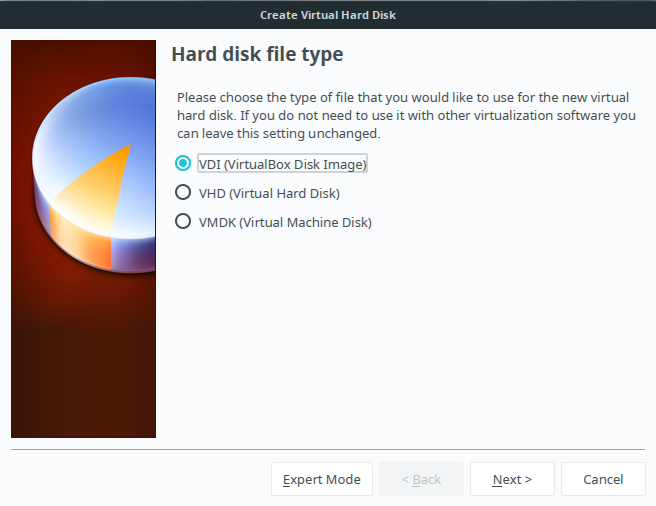
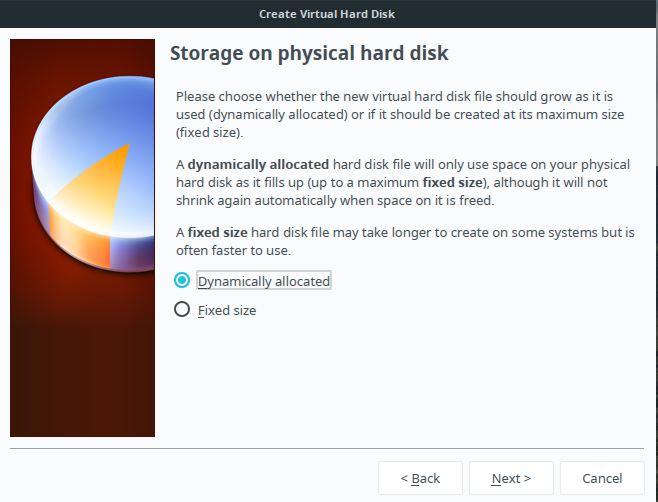
Choose the hard disk file type. VDI is the default setting so leave it as it is.
Choose dynamically allocated for the hard disk file type:
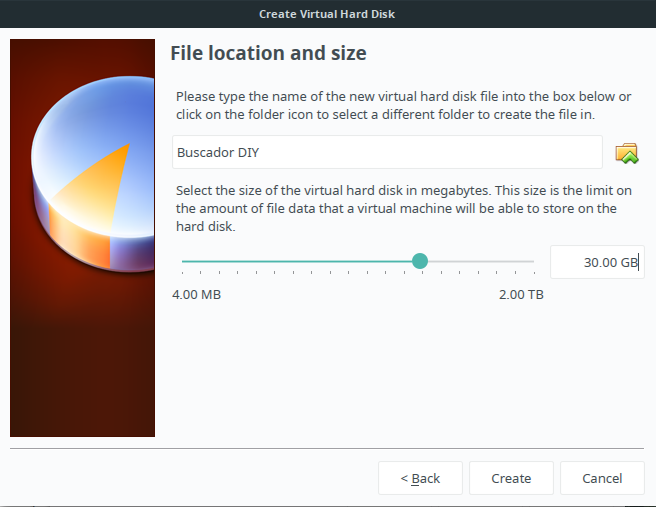
Set the size of the virtual hard drive. In this example I’ve set it to 30GB although it’s probably wiser to increase the size depending on what you’ll use the OSINT machine for. If you download a lot of videos for example, you’ll want to make it a lot bigger.
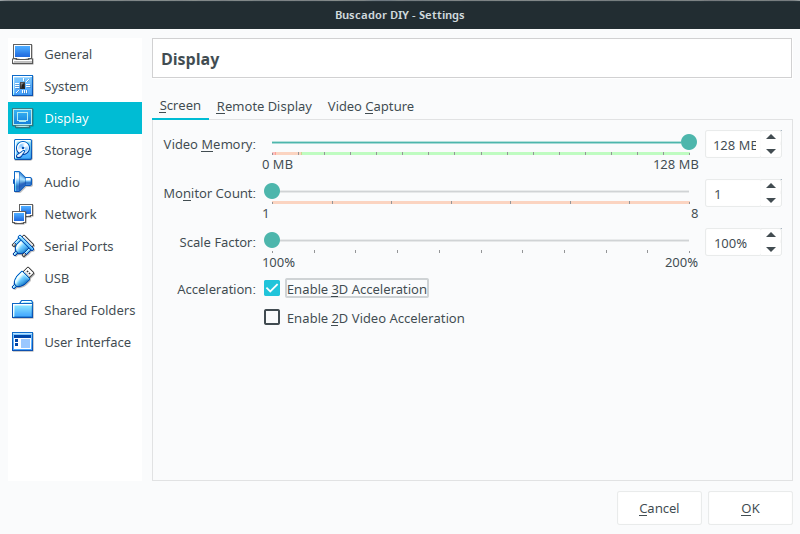
After you’ve clicked ‘Create’. Right-click on the Buscador-DIY machine you’ve just created and choose ‘Settings’. Adjust the video memory as high as it will go (128mb in this case) and choose to enable 3D acceleration.
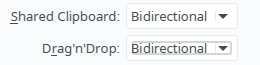
Under ‘General’ set the Shared Clipboard and Drag’n’Drop options to Bidirectional. This will allow you to move files easily between your host machine and the OSINT machine:
The machine is almost ready to start. In Settings, go to Storage. On the right where it says Optical Drive, click on the disk icon. Navigate to the folder where you downloaded the Ubuntu 19.04 ISO file to and select it.
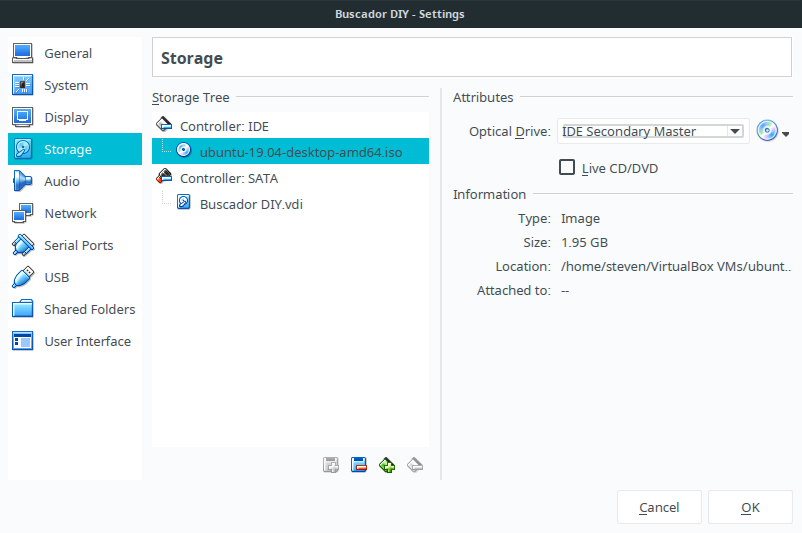
The Ubuntu installation disk is in the virtual drive of the virtual machine. Click Start to boot up the machine for the first time and begin installing Ubuntu:

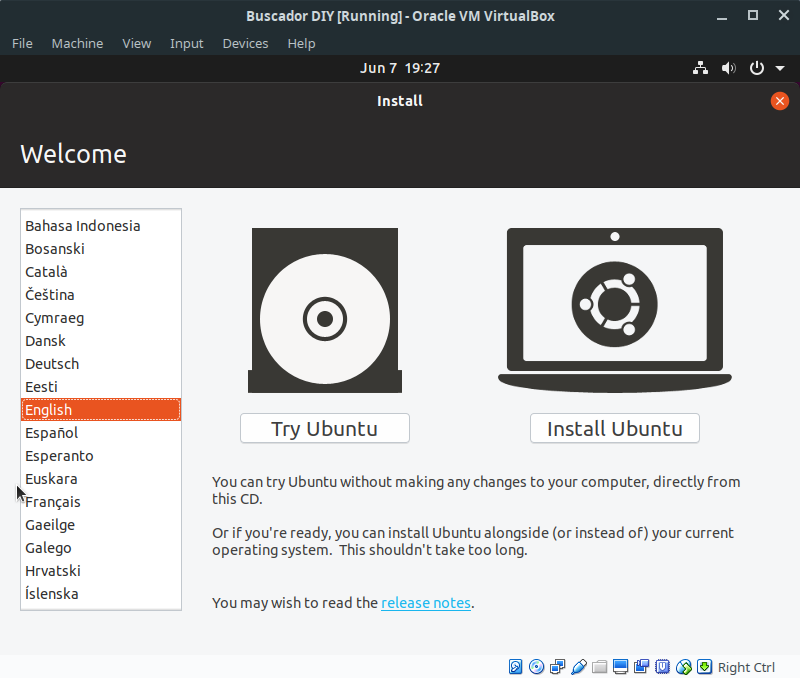
Time to start the Ubuntu installation. Choose your language and then click on “Install Ubuntu”. There are a few local settings like timezones etc that form part of the installation process but aren’t pictured here.
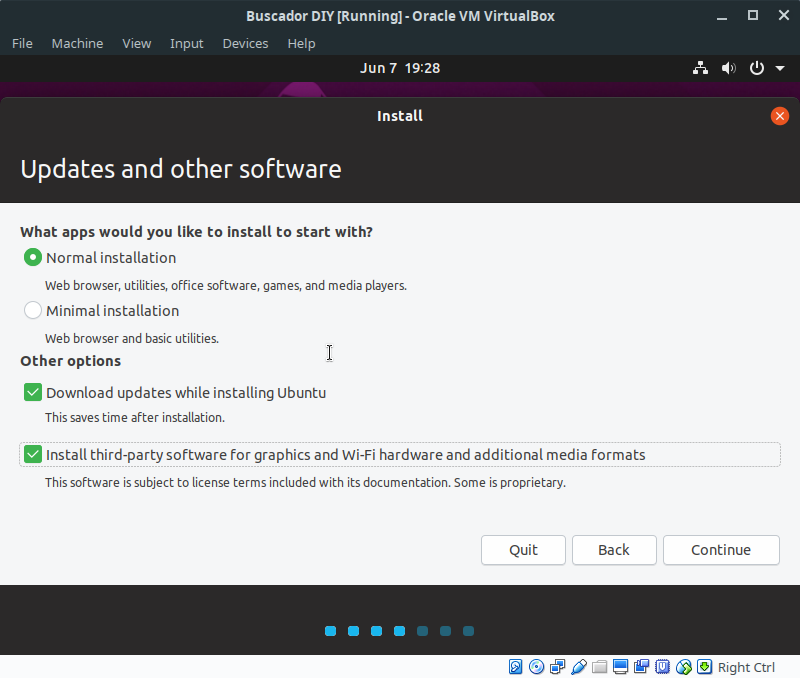
Choose normal installation, download updates while installing, and most importantly allow the installation of third-party drivers. Not all Linux devotees are comfortable with this, but it will make the OS much less likely to hit snags in the future.
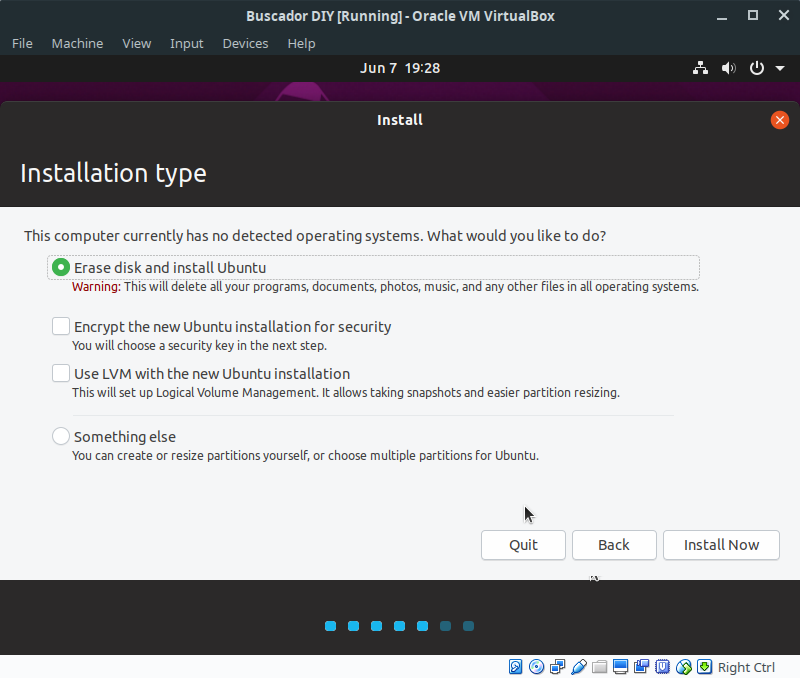
Choose erase disk and install Linux when prompted (remember this is referring to the virtual hard disk you just created, not your actual main operating system, so don’t worry.):
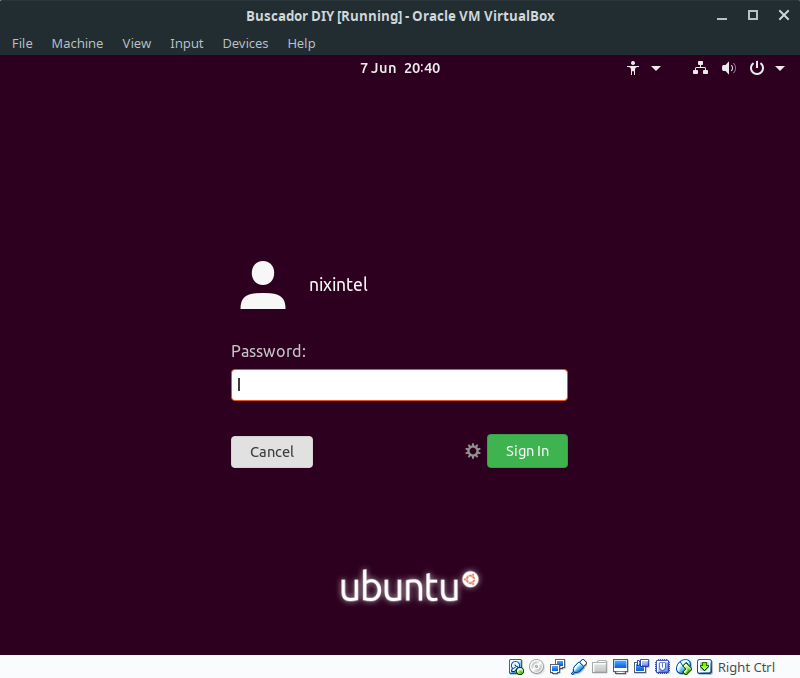
You’ll be prompted to create a user who will be the admin, set the admin password, and then set the name of the computer. I chose the username ‘nixintel’, and the computer will be called diy-buscador, but you can choose any name you like. It’s important to make sure you don’t lose or forget your password. There’s no easy way to recover it if you lock yourself out of the machine.
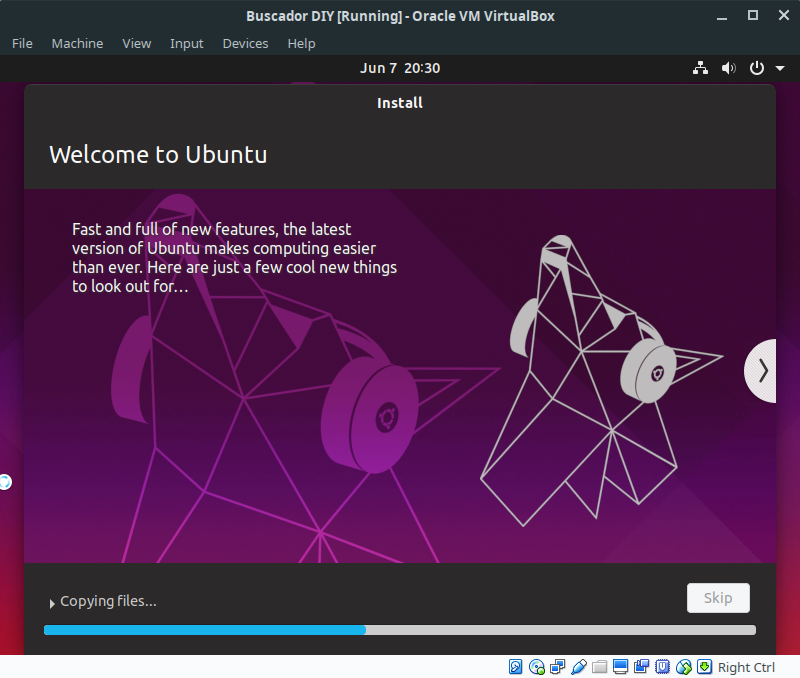
After clicking “Install Now”, Ubuntu will begin installing itself. Now is a good time to have a quick coffee break. Installation took less than ten minutes on my PC, but it might vary depending on your own hardware setup.
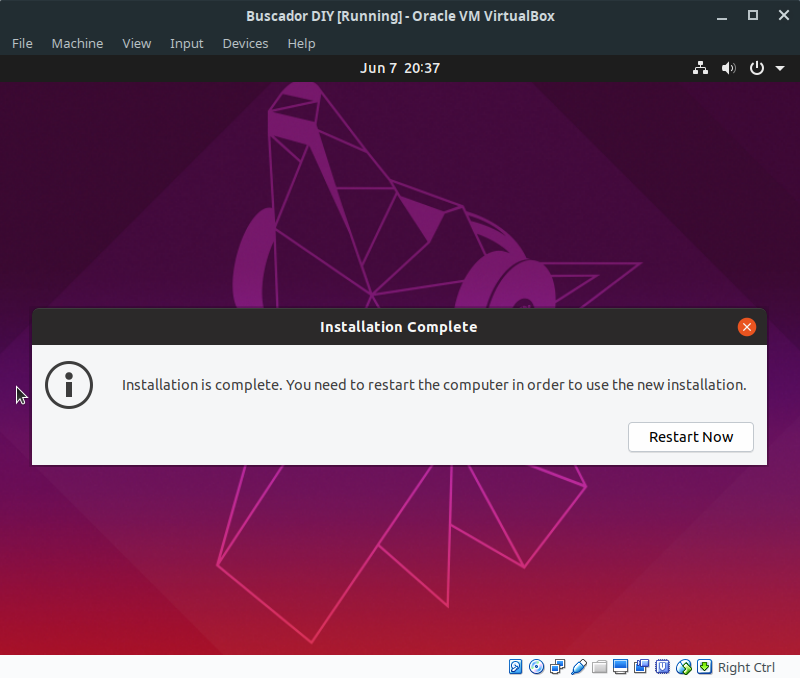
Click Restart Now to complete the installation:
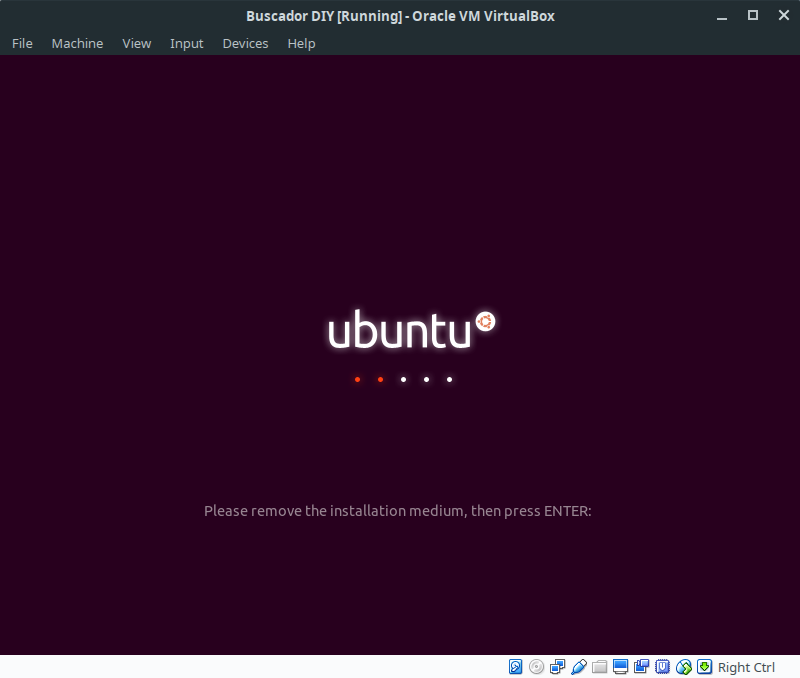
As the machine reboots, it prompts you to remove the installation media i.e. the virtual disk that was inserted into the virtual drive. Just press enter at this point.
Now log on with the password that was created during set up:
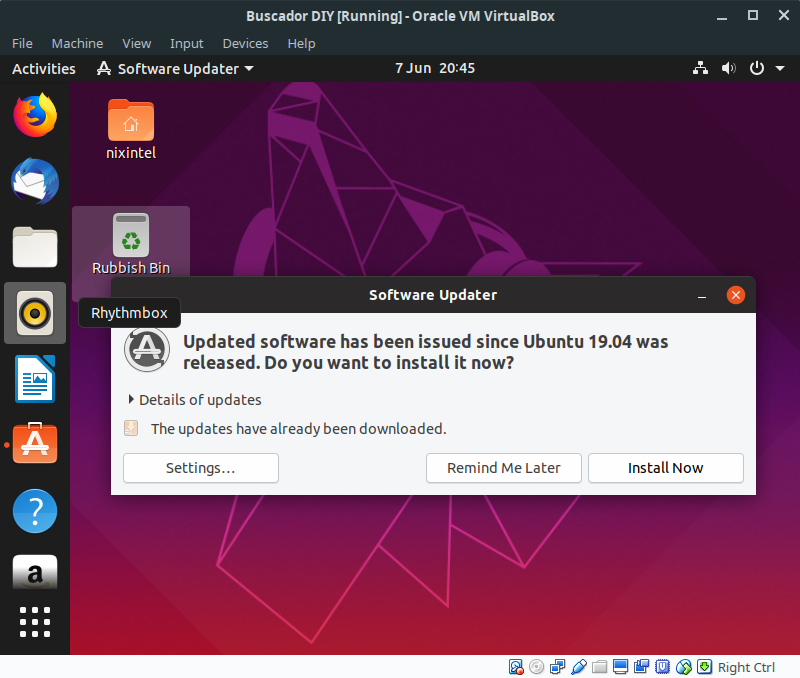
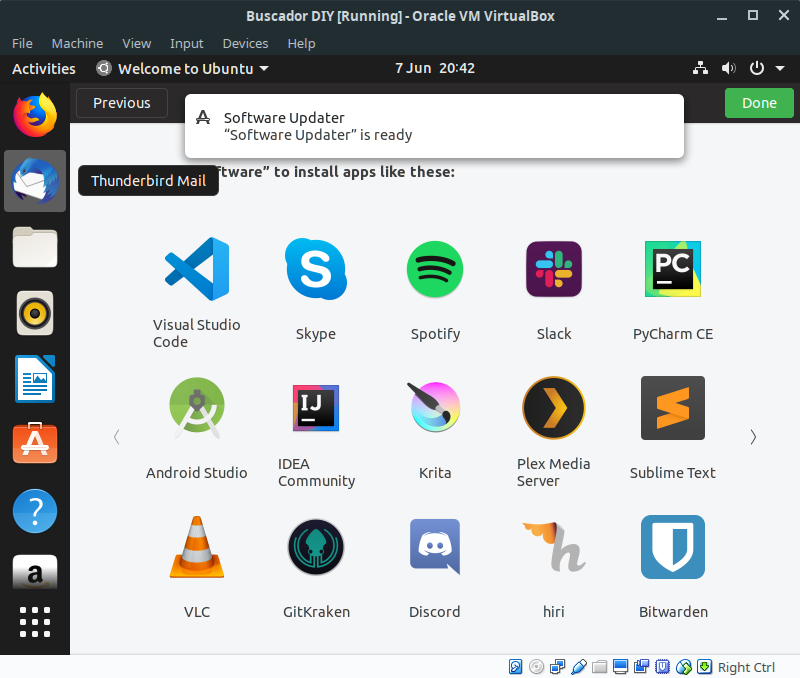
All done! Ubuntu 19.04 is installed and ready to be turned into a custom OSINT machine. On first boot it introduces you to the software centre where there are thousands of apps you can choose to install. This is also where software updates are managed and where unwanted programs can be removed. It’s best to update the system first, so do so if prompted. In Ubuntu and Mint system updates are done unobtrusively in the background and you can continue to use the machine while updates are applied.

My Ubuntu VM looks squashed because it is – I had to fit it into a small corner of the screen so I had Desktop space for other things – but you can easily adjust the window size just as with any other window. It’s even possible to run the VM in full-screen mode if preferred.
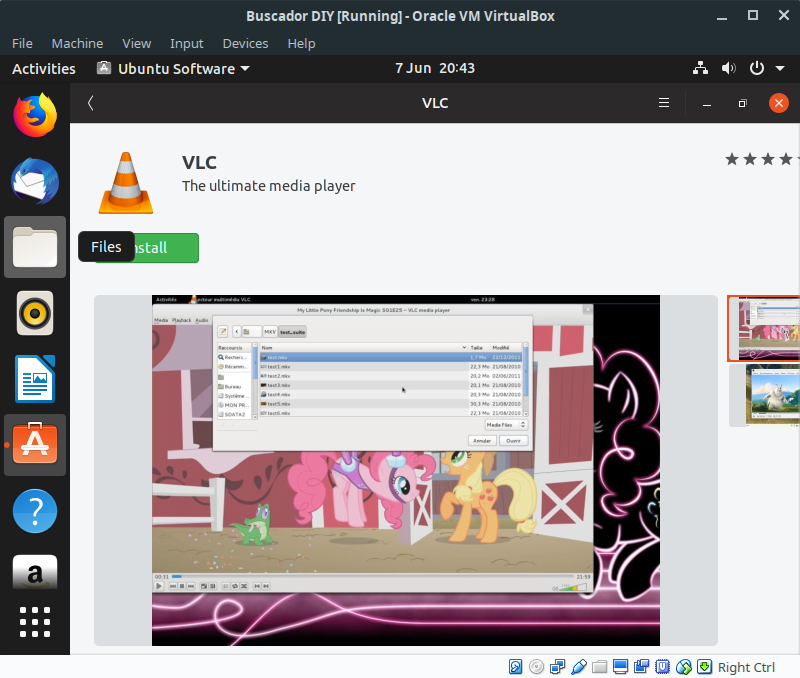
In the software centre preview, one of the promoted apps is VLC media player. I want to include this in the OSINT build, so I might as well make a start. Simply click on “Install”, enter your password to authorise it when prompted, and the program will install itself in a few seconds. No need for sudo apt install… or messing with dependencies in the command line. Who said using Linux was hard?
That’s the first (and hardest) part of creating your own DIY Buscador OSINT machine. In the next part of the guide I’ll look at installing some useful OSINT tools that are already in the software centre, how to install Google Earth, Chrome, and Hunchly (which are not in the software centre but have to be installed via downloaded packages), and also how to set up Pip, Python, and Git to install some specialist command line tools like Sherlock, Cloudflair, Photon, and Twint. There’ll also be something on useful browser extensions for Chrome and Firefox.
I haven’t had a chance to comment on twitter or thank you for all the work you put into this. I’ve always loved Buscador but there are quite a few things I in both versions of it that I never used and never found a use for it in criminal defense investigations. The idea of creating my own streamlined version is really cool idea that I have been working on…which would NOT have been possible without your detailed walk-through!
Hi Ricardo. I’m glad you found the article useful. The fun part of creating your own VM is that you can customise it however you like, and if you break it you can easily start again!
HAs anything replaced Buscador now that its tottaly offline ?
Has anything replaced Buscador now that its totally offline
You should not using buscador even if you find working ISO/OVA file. This system has not been getting updates for a long time. You better should build your own machine 🙂
I don’t think there is a direct replacement as such. Trace Labs made their own OSINT VM but in reality I think it’s best to make one for yourself.
Hello NIXITEL, have looked through all the parts of “Build Your Own Custom OSINT Machine – DIY Buscador”. Is it still relevant to act according to your training manual? Or is it worth replacing / improving / using something else?
Yes, using a virtual machine for OSINT is always likely to be a good idea. You can use any operating system that you want really but Ubuntu is still probably the best for general usage.
Pingback: build osint vm – securitygems.com