This is the third part in a series of posts that show how you can make your own custom Linux OSINT virtual machine similar to Buscador. The first post showed to create a virtual machine with Virtualbox and Ubuntu Linux, while the second post showed how to install some useful apps directly from the Ubuntu software centre. This post shows how to install software like Google Earth and Google Chrome directly from the internet. If you’re familiar with Linux, you’ll already know how to do this. There’s no need for any command line tinkering yet – one of the advantages of Ubuntu is that it allows most packages to be installed in a simple graphical way, which is a much easier learning curve for those used to Windows or Mac environments.
Installing Google Earth
Google Earth is without question the single most important tool for OSINT work that focuses on photo geolocation and verification. It isn’t part of the Ubuntu software centre by default, but this guide will show how to download and install it, before looking at some other key OSINT tools that can be downloaded and installed from the web in this way.
Go to the Google Earth website here and click on the link to download it. Google detects that you’re running Linux and prompts you to choose your package type. Ubuntu (along with Mint, Kali, Debian, and many other Linux distros) uses .deb packages for program installations, so choose that option:
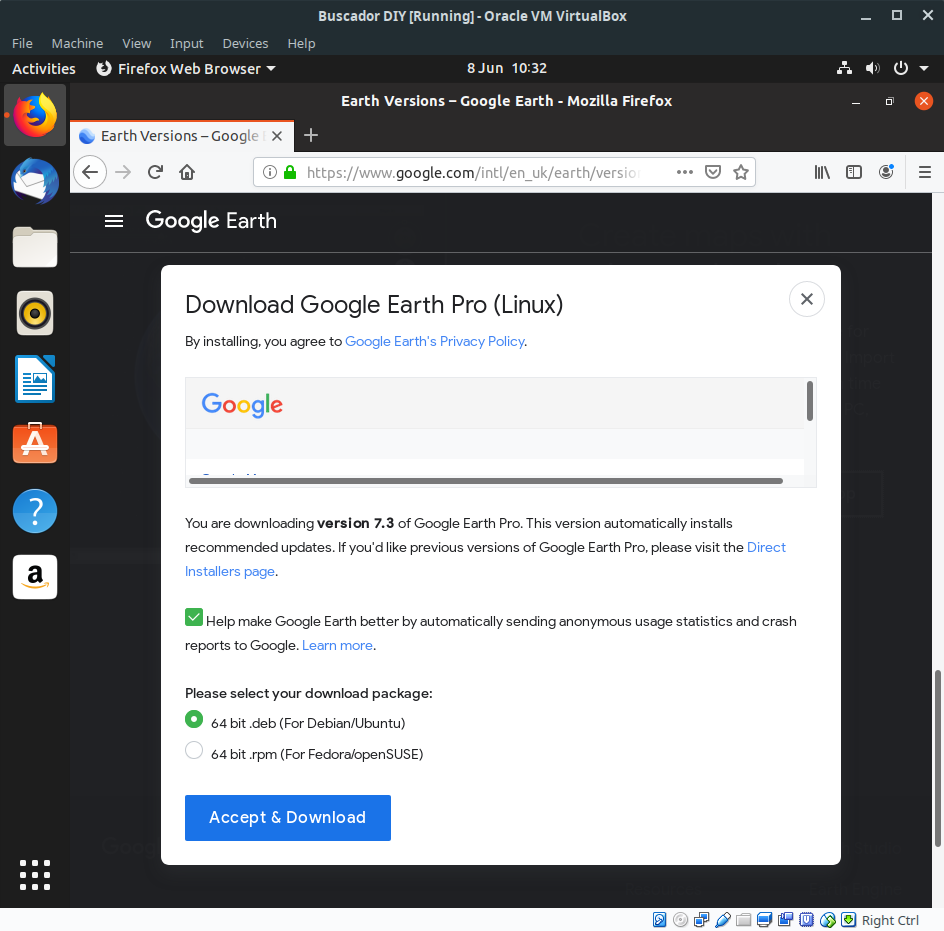
Choose “Open with” (this is the default setting) and click “OK”. The program will then download the necessary installation files.

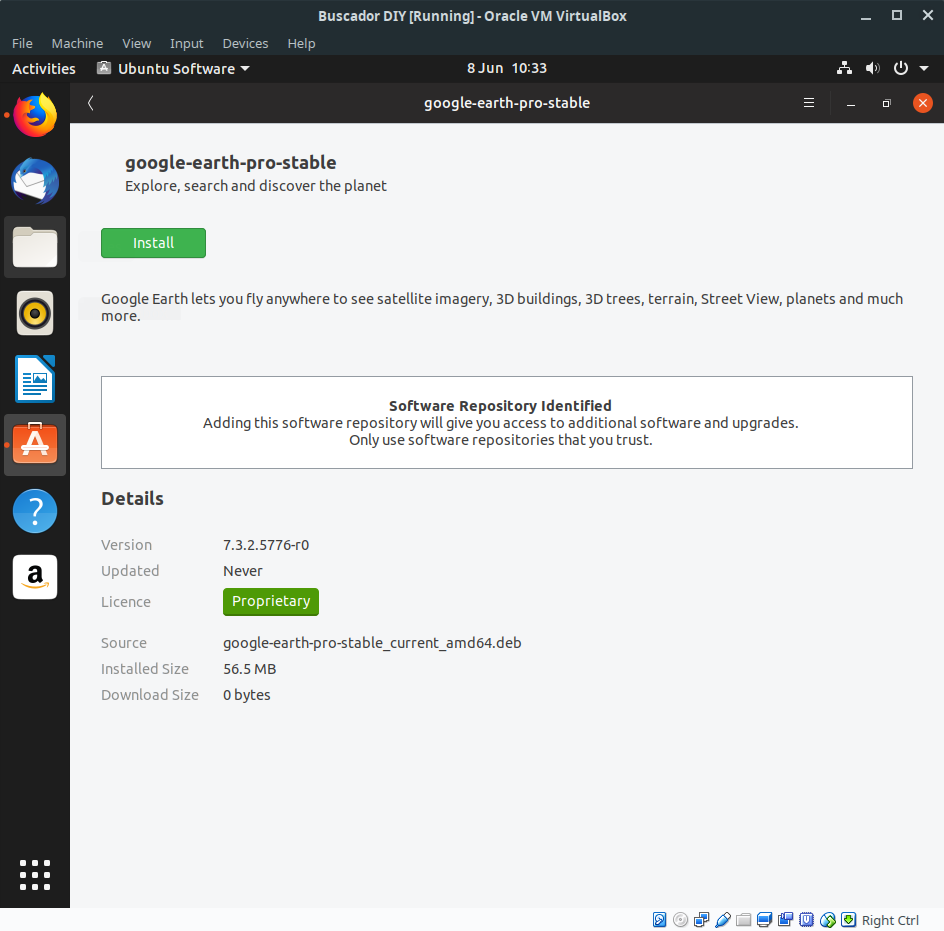
Ubuntu will then tell you that it has recognised a repository. A repository is a software source from where a program will receive its updates and patches. Click “Install” and to allow Ubuntu to add the Google Earth software repository and install the program. Note that not all programs will have a software repository like this.
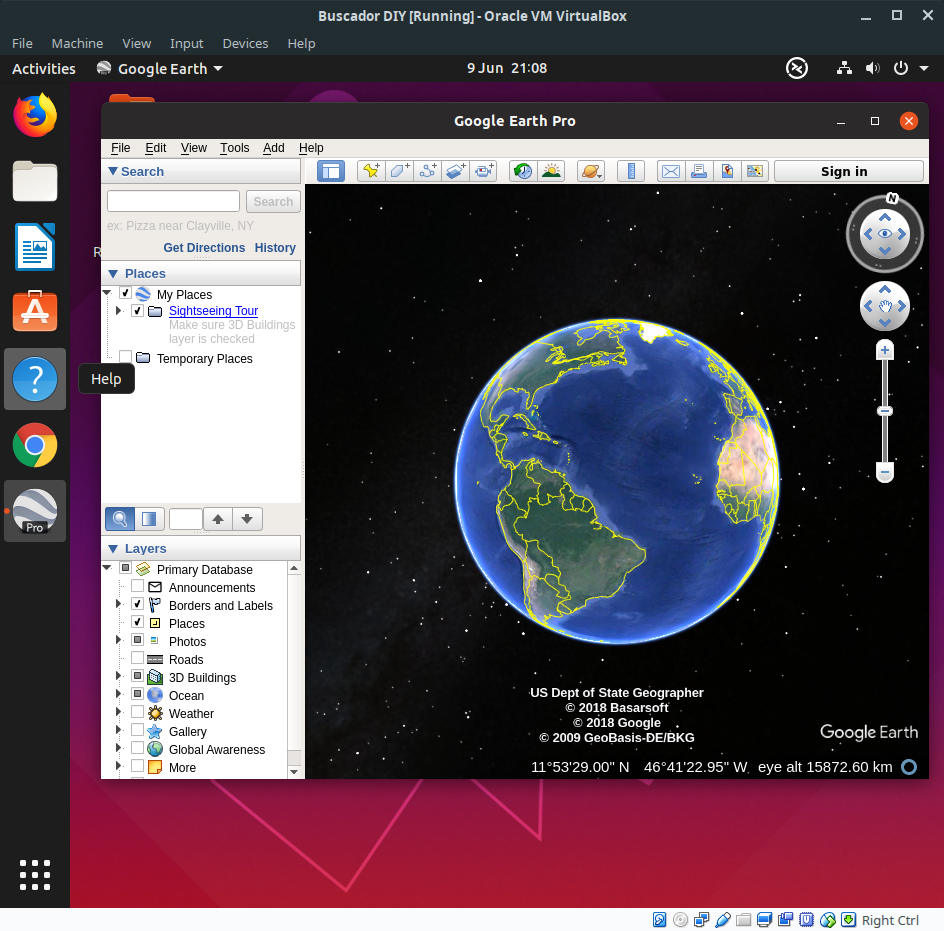
Once installation is completed, find Google Earth Pro via the start menu and click on it to run. Easy! As always right click on the launch icon and choose “Add To Favourites” to pin the launch icon to the toolbar menu.
There are hundreds of programs out there on the internet that are useful for OSINT and which can be easily installed with .deb packages. Here are some you’ll want to consider.
OSINT Friendly Software For Linux – With Easy Install .deb Packages
Google Chrome – since Chrome announced that it will soon stop allowing adblockers and anti-tracking software to run in its browser, a lot of people have announced that they’re going to switch to Firefox instead. I prefer Firefox (and it’s easy to switch) but currently Chrome is still a necessary evil because it’s the only browser that supports Hunchly.
Hunchly – the best logging and evidence capture tool for web investigations bar none. Hunchly is essential if you work in an environment where the ability to show how you got your results matters. Among all the tools I’m to recommend as part of this series of guides, Hunchly is the only one that will cost you any money. It isn’t essential for OSINT of course, but it’s great for professionals. A licence currently costs $100 for 12 months. When/if Hunchly becomes compatible with Firefox I’ll probably uninstall Chrome.
Maltego – still the best tool for visualising and mapping connections between the subjects you’re doing OSINT research for. You’ll need to create a (free) account after installation.
In the next article I’ll show how to use the command line to install some additional OSINT programs, before showing how to configure Ubuntu to run and install some of the most powerful OSINT programs that are out there like Spiderfoot, theHarvester, Twint, and Sherlock.