Speed is a critical factor in investigations of any kind. The longer information is left or ignored, the more likely it is to become obscured, contaminated, or disappear altogether. This is true of any kind of information, whether it be an eyewitness, a server log, a tweet, a fingerprint, or anything else that an investigator might find useful. Witnesses forget, server logs get overwritten, tweets get deleted, and fingerprints get wiped away. Whatever you’re investigating, knowing how to act quickly to preserve and gather information before it is lost is an important skill. The rest of this post will explore this idea a little more and also show a few techniques that can be used to recover lost information when things go wrong.
The Attrition of Information
To explain what I mean about the attrition of information, look at the diagram below:

The red box represents the ideal world in which every piece of possible information is available to you. Every Facebook post is public, every image is shared openly, no one deletes their tweets, and Google has indexed every last detail. This world does not exist of course, but the aim when gathering information OSINT material is to stay as close to it as possible.
The orange box represents the material that is actually available to you as an OSINT investigator. The world is not perfect, and you lose some information: time goes by, privacy settings are turned up, videos get taken down, sites get censored, your subject gets overwhelmed and lost in in a sea of search results, or witnesses decide not to talk to you any more. You lose a lot of information this way.
Finally, the yellow box is the actual amount of information that you’re left to work with at the end. This is the usable material that you actually use to write your story, feature in your documentary, complete your pentest report, or to prosecute a court case. More material is lost between the orange box and the yellow box for many reasons: it becomes out of date and irrelevant, you lose your USB stick, sources no longer want to help you, internet tools you were relying on no longer work, the target has patched the vulnerability you were exploiting, and so on.
This reduction in available material between the ideal world of the red box and the final result of the yellow box is known as the attrition of information. The better you can get at gathering and preserving OSINT data earlier on, the better and more effective results you will have at the end. An OSINT investigation that does not consider how to gather and preserve evidence well will look like this:
 Because the initial gathering and preservation of material (orange box) is poor, more information is lost due to attrition, and the final investigative product (yellow box) is much weaker.
Example: Finding Fiete Stegers
I realise as I write this just how many Fridays I’ve spent this year trying to find out where Fiete Stegers is. Fiete frequently posts the questions on Friday’s Quiztime challenges and I’m going to use one of his challenges from earlier this year to illustrate how gathering information quickly prevents attrition from being a problem.
You can read my original blog post explaining how I located Fiete here but I’ll summarise it briefly. Fiete posted this photo live from an event he was attending:

Using a combination of live updates from Twitter, live geolocation data for tweets and hashtags from OneMillionTweetMap, Snapchat Map, and Facebook, it was possible to locate Fiete quite quickly. This method was heavily reliant on short-lived live data from various social media apps, but by gathering it quickly and preserving it (with only screenshots in this case) the attrition of information was minimised and it was possible to locate Fiete very quickly.
But what would this challenge look like if I were to start it again today, four months later? Attempting to capture live data from Twitter would be pointless, the Snapchat Map footage would be long gone, and the changes to Facebook’s search mechanism would mean that finding out the plans for the march route would be much harder if not impossible to find.
Not only would the data I originally relied on no longer be available, but there would be other factors that would cause even greater loss of information: this was a climate march, but there have been many more since the picture was taken. This means there would be millions more search results that would obscure what I was looking for. Some of the Twitter accounts I would have relied on have been deleted, and so on. The pool of available information in the first few hours after Fiete posted the challenge was enough to find him, but to start from scratch now would make the task harder, if not impossible. Acting quickly to gather and preserve OSINT information at an early stage makes all the difference to the final outcome. Next I’ll look at how and why to preserve OSINT material quickly.
Preserving and Gathering OSINT Data
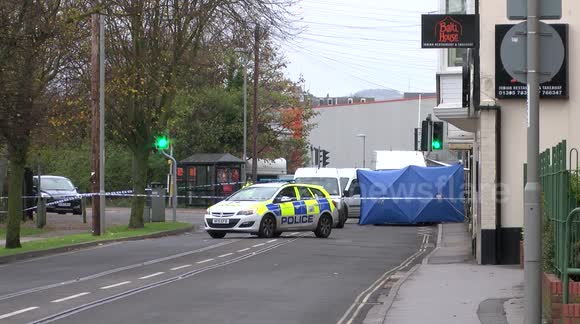
The need to prevent loss of evidence is not exclusive to OSINT. The same principle of preserving and gathering information as soon as possible can be seen demonstrated in the photograph above. Vital evidence like bloodstains, fingerprints, hair samples, and footprints are essential to solving serious crimes. These forensic clues degrade or get lost very quickly, so good investigators preserve them to prevent loss. In the picture there is crime scene tape to prevent people trespassing into the scene and contaminating it with forensic material from elsewhere, or by destroying it by driving over it with a car.
The most sensitive area of all is covered with a tent. This isn’t just to keep nosey onlookers away either; the tent protects very sensitive forensic fragments from rain, wind, and other factors that might cause the key evidence to be lost. If this evidence were lost or contaminated at the outset, the whole case might never be solved.
In OSINT the same principle applies. If you don’t gather and preserve something as it is happening, or soon after it happens, then it gets lost. In the world of breaking news, not only does material get buried quickly, but there might even be others who actively try to corrupt the evidence and drown out the original sources with disinformation, backed by an army of bots. Twitter is an excellent example of this. If primary sources aren’t identified and captured quickly, they can easily get lost and the investigation is frustrated. The rest of the post will look at a few practical tools that you can use to capture information from the web reliably and quickly, as well as a few other tools that will help you claw back information that you might have missed at the outset.
Preservation Tools
There are wide variety of tools you can use to capture information quickly and efficiently. The best tool to use really depends on what you’re trying to capture, but here’s an overview of a few different ones.
Screenshot – there are plenty of different screenshotting tools. Fireshot works as a browser addon, Windows has the Snipping Tool built in, Mac OS has a built-in Screenshot tool, and my favourite Linux tools are Shutter and Flameshot. Firefox now has a built in screenshot tool, as does Vivaldi.
Saving A Webpage – GIJN have published a guide here on various ways to capture information from the web. This includes a reminder that you can just Ctrl+S and save a webpage as an HTML file. You can still do this of course, but most modern webpages contain so much dynamic content that an HTML page saved offline will not likely resemble the original page very much. HTTrack is a much more effective way to save a webpage, but I’ll come to that soon.
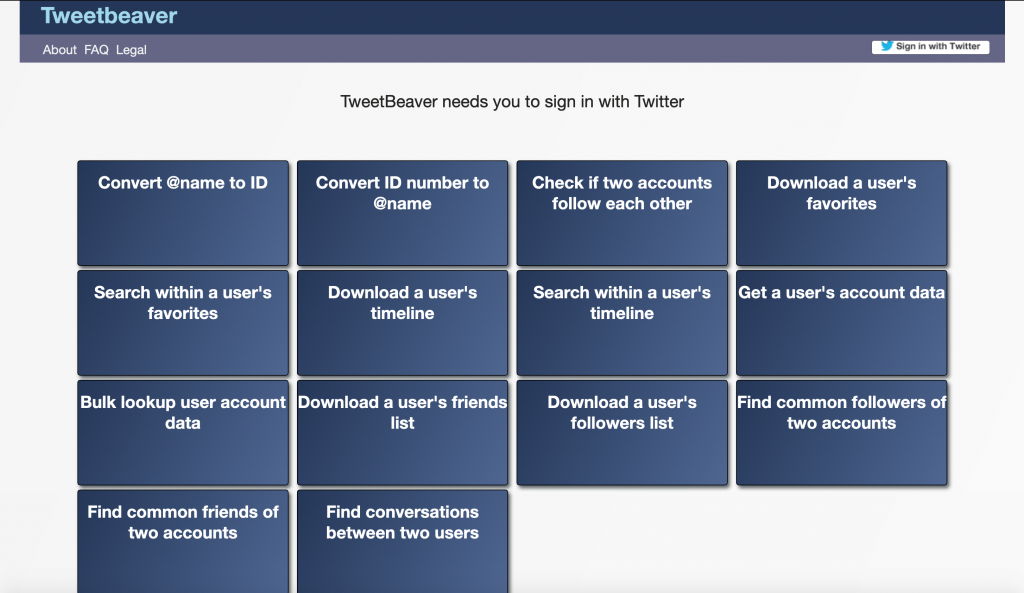
TweetBeaver – Tweetbeaver (above) contains several tools that allow you to download selected information from Twitter and export it as a CSV if required. You’ll need to let it access your own Twitter account first but it’s a great way for downloading bulk information from Twitter and it has a very simple user interface.
Twint – Twint is my favourite Twitter tool. It doesn’t use the Twitter API and it’s really powerful. It has a lot of features for capturing specific kinds of information and integrates nicely with some common visualisation tools. This screenshot below lists some of the available options:
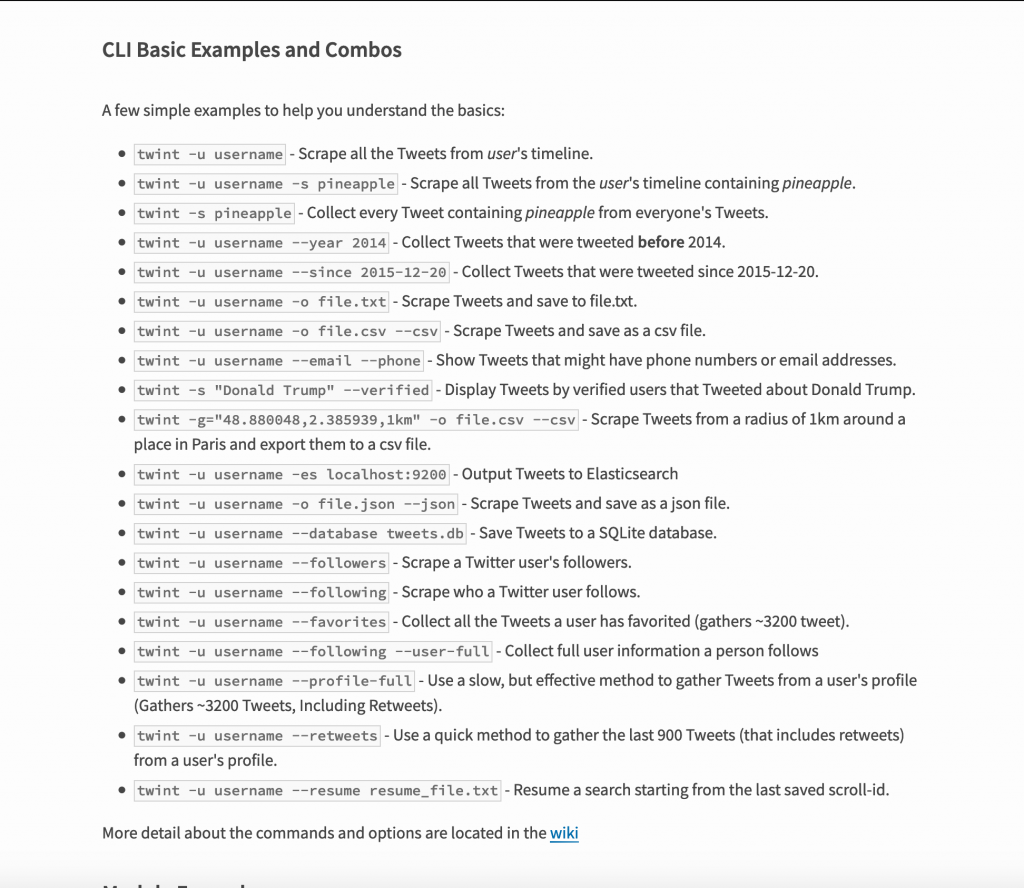
Benjamin Strick recently did a great bit of OSINT work that shows just what Twint can be capable of.
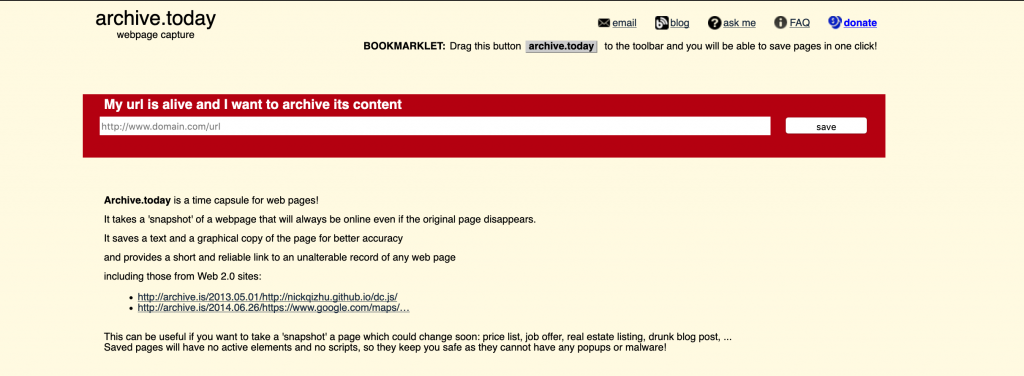
Archive.is – Archive.is is a “time capsule for web pages”. It is not as well known as The Internet Archive, and it doesn’t hold as much information, but it does give you the option to archive any page you want really quickly. Simply enter the URL of the page into the red box, and Archive.is will copy and preserve it, even if the original is taken down. A good one to use in a hurry.
Pastebin – Pastebin’s interface is very simple. It can only be used to store text, but sometimes it can be a useful option if you’re in a rush and either can’t save a document locally or you don’t want to for whatever reason. Copy and paste the text you want to save, and Pastebin creates a unique URL that you can use to bookmark what you’ve pasted. Just be mindful that pastes are not private by default.
Httrack – HTTrack is a really powerful tool for saving websites. It copies the entire structure of a website or page and saves it offline. It’s more powerful than simply saving a webpage as an HTML file because it captures all the associated scripts and stylesheets that are needed to make a webpage function. It’s extremely thorough and will allow you to create an exact copy of a website for viewing offline. The only drawback is that it takes longer to capture an entire site when you’re copying it all page-by-page than it does just to take a few screenshots, but the final product is much more rich in detail. It’s available for both Windows and Linux. There’s a decent user guide here.
YouTube-dl – This is still my favourite tool for grabbing video content from just about any webpage (not just YouTube as the name suggests). I wrote a basic tutorial here that shows you how to capture video from just about any website. I used the command line version in that guide but there’s also a GUI version available here.
Hunchly
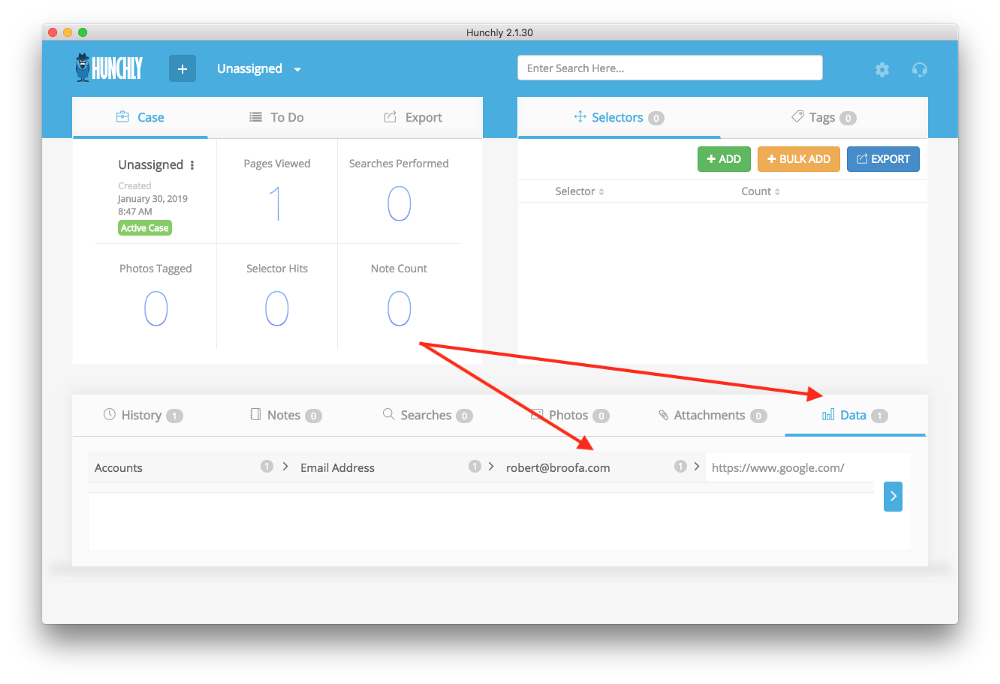
Hunchly is the best tool for capturing web-browser evidence bar none. It quietly capture evidence in the background as you browse, grabbing webpages, videos, screenshots, searches, and all the while creating an auditable trail of the research you’ve carried out. It’s $129 for a year’s licence, but if you do OSINT professionally or even as a hobby it’s well worth paying for. It also works equally well on Windows, MacOS, and Linux.
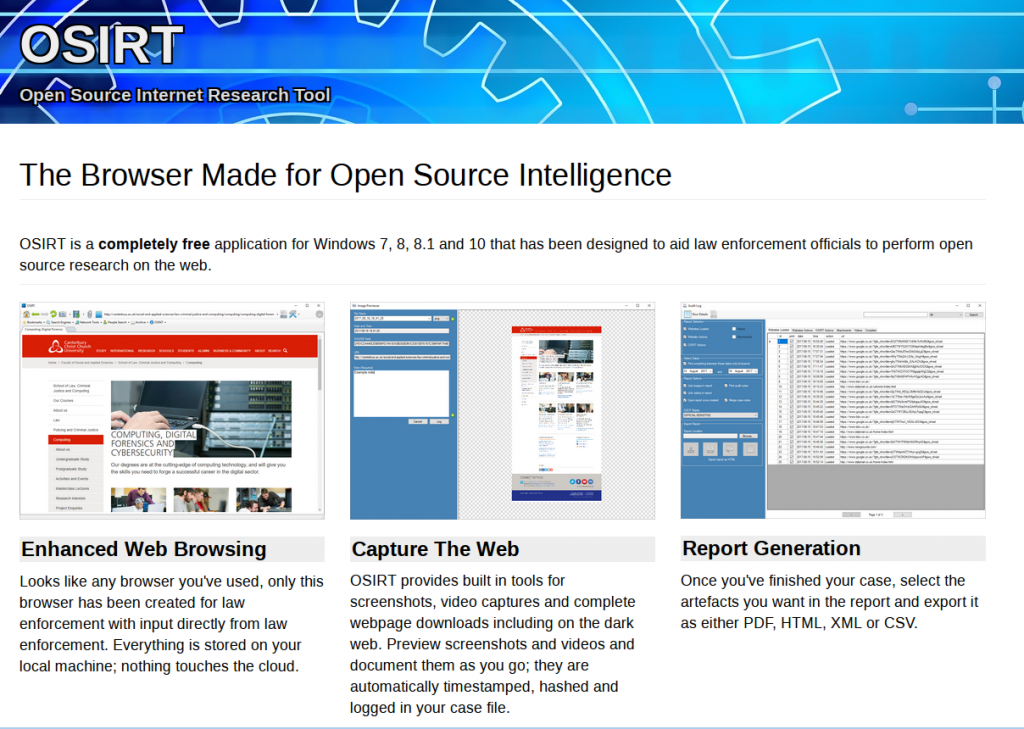
OSIRT – OSIRT Browser is less well-known than Hunchly but it’s still pretty good. It captures while you browse, has a built in video capture tool, webpage capture ability, Tor functionality, and it allows you to add your own case notes and export the whole thing as a PDF at the end. It was originally designed for law enforcement but is now publicly available for all (Windows only).
Recovery Tools
One major difference between internet investigations and traditional investigations is that recovering lost information is much easier. If someone accidentally wipes away a fingerprint at a murder scene then it’s gone forever, but if someone deletes a Tweet then there might be a way to get it back. Here’s a list of a few resources that can give you a chance to recover information that you missed first time round.
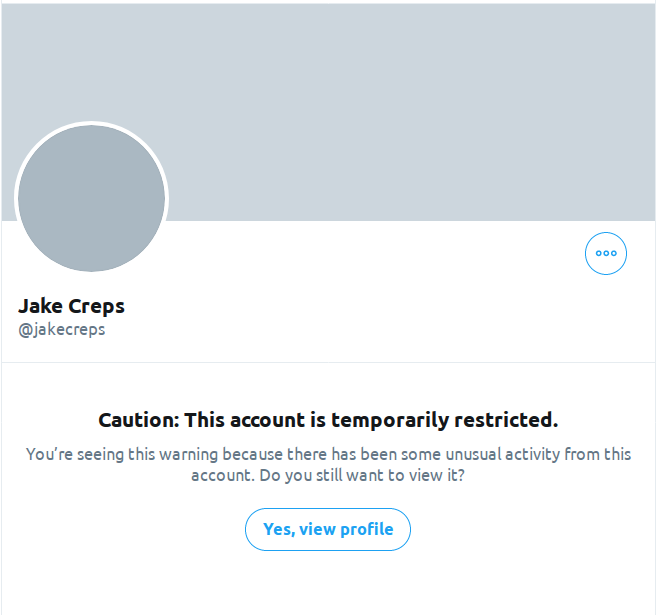
Google Cache – Google doesn’t just index webpages, it also stored copies of them in a cache and it is then possible to retrieve the cached version of a webpage even if the original has been deleted. You just need to be mindful that Google does not cache everything all the time. To see a cached version of webpage, simply prefix the URL you’re searching for with the term cache:. In a recent post I was searching for an old Jake Creps article about Pastebin that I wanted to reference. Google found the original tweet…
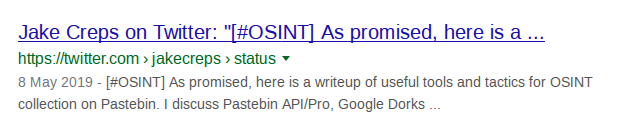
But when I clicked on it I found that Twitter had restricted Jake’s account and I couldn’t view the post:
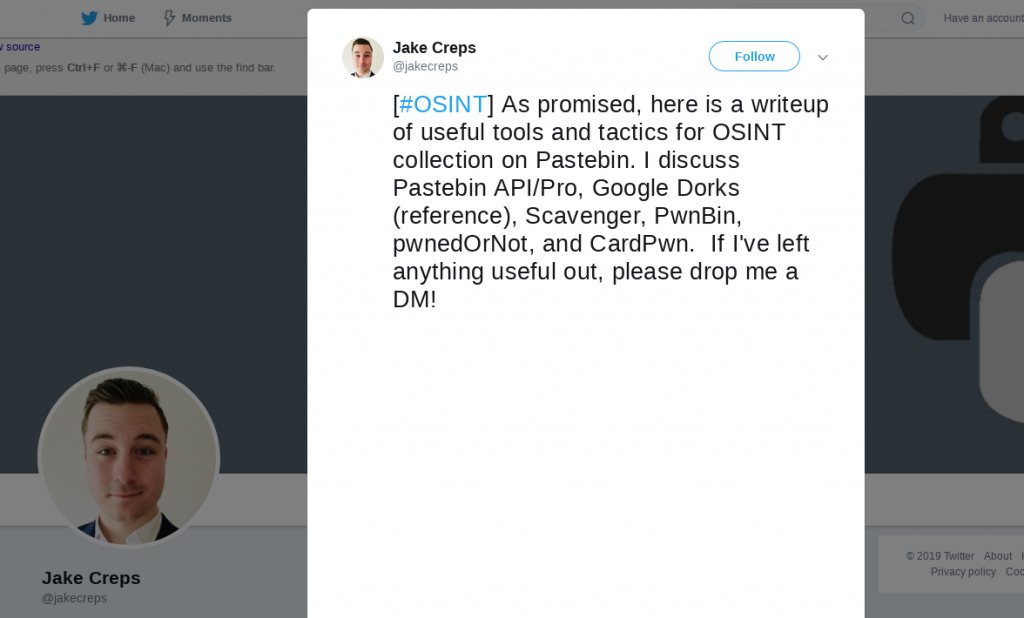
However by adding the cache: prefix to the URL and doing a Google search for it:
cache:https://twitter.com/jakecreps/status/1126239101294919685Google returned the cached version, even though the original version had gone:
You can also access cached versions of webpages directly from search results by clicking on the green down arrow and selecting “cached”.
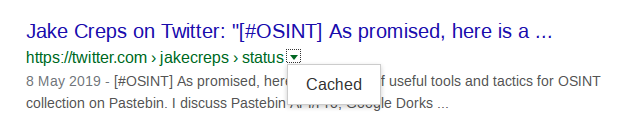
If this option isn’t present then sadly the page hasn’t been cached.
The Wayback Machine – Archive.org is easily the best known archive resource on the internet. It has snapshots of websites that stretch back for many years and I’ve lost trakc of the amount of times it has bailed me out when I’ve been trying to find content that has been deleted. It also has a wide range of advanced search options for digging out old and obscure information. Although it’s a great tool, it doesn’t capture everything all of the time, and it isn’t great for capturing URLs with rapidly-changing content like Twitter pages.
Ceddit and Resavr – These two tools capture and preserve deleted Reddit posts. Ceddit looks just like the main Reddit site, but it retains and archives posts that have been deleted from Reddit.
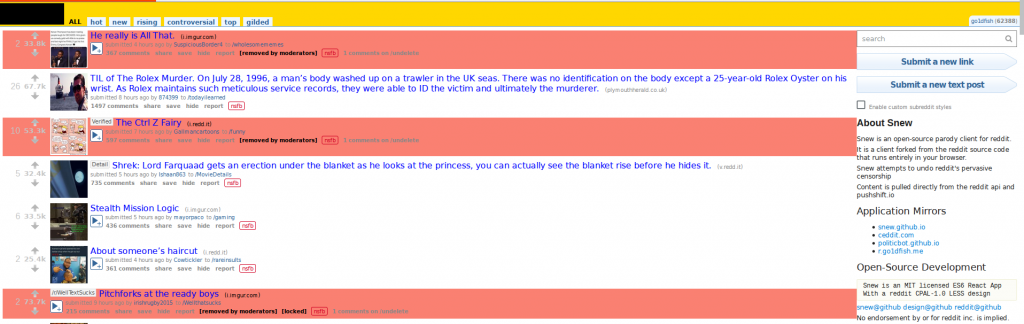
Resavr takes a slightly different approach to Ceddit. It just captures and archives deleted Reddit comments. You can retrieve the full text of the comment, the user handle, when it was deleted, and how long it was up for before being removed.
Time Parameter Searches – this a slightly different approach to recovering lost or obscured information. As I mentioned earlier in this post, one of the causes of information attrition in OSINT is that the data you are looking for can be overwhelmed by newer search results. For example let’s say that I Google for “Jeffrey Epstein”. I get more than 70 million results:
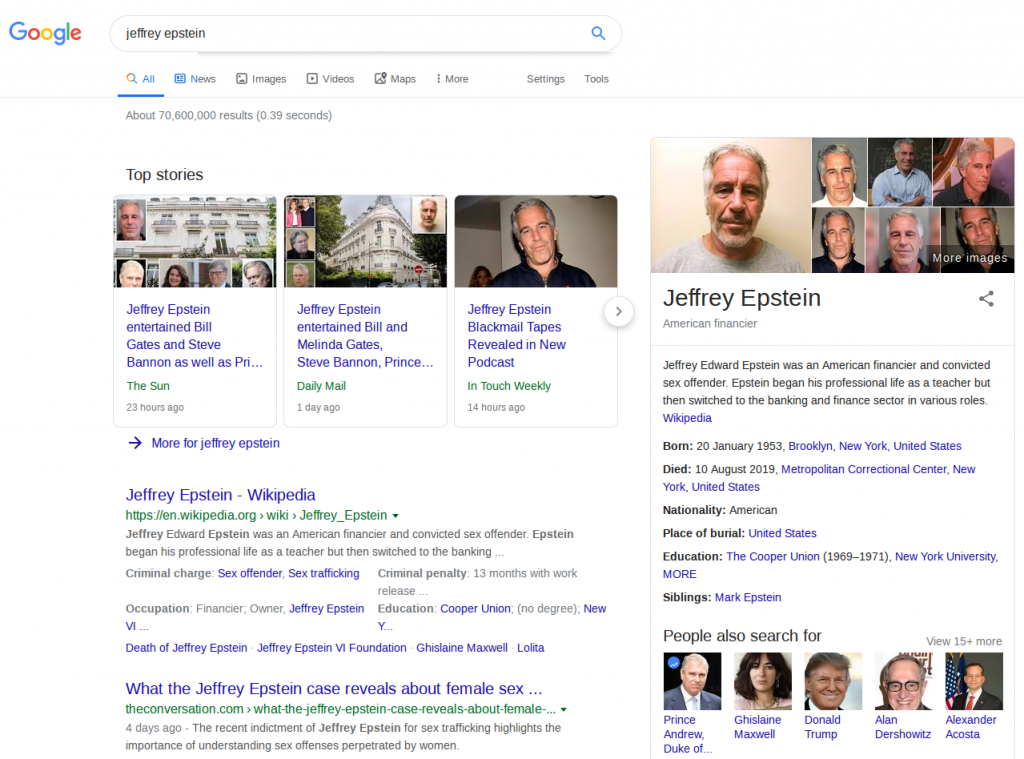
Jeffrey Epstein’s recent sexual crimes, followed by his suicide, ensure that results related to these recent event dominate the search results. But what if I was interested in researching older information about him? Google’s advanced search parameters allow you to only find results from a given time frame which might make the information you’re looking for a lot easier dig up.
From the search results page, choose “Tools” and then click on “Any Time” and choose “custom range” from the drop down menu:
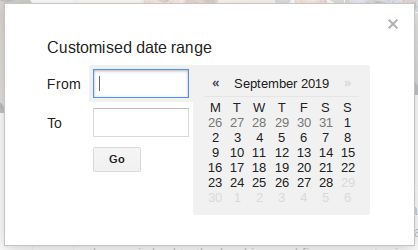
Enter the date ranges of interest and Google will only return results from within these timeframes. This allows you to filter out a lot of search result noise and just focus on the time period you’re interested in. Just remember to use full years (YYYY) and not just the last two digits (YY) and the US date format (DD/MM/YYYY).
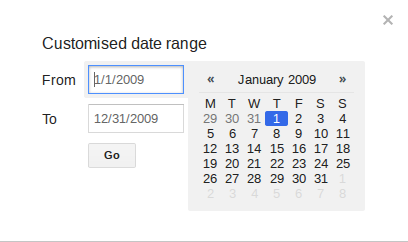
By way of example let’s say I just wanted to look at search results for Jeffrey Epstein just from the year 2009, I’d do something like this:
This brings back a lot of much older search results without reference to his more recent scandals and death:
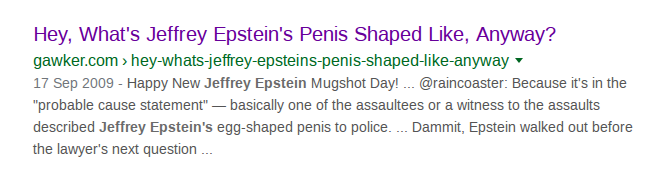
If you need to be really specific you can set even smaller time parameters, even down to a single day. Just be aware that this can still throw up false positives, with relatively recent information appearing on very old websites. As always, check everything.
This list isn’t exhaustive, but if there’s any resources that you think I should add then message me on Twitter.