
Images captured from Twitter and Instagram can be an important part of any OSINT investigation, but the images presented to us in a web browser are rarely of the same quality as when they were first taken and uploaded. Not only are the images stripped of the EXIF data that would be useful to an investigator, they are often of a reduced quality when compared to the original. This means that webpages load more quickly and isn’t an issue for normal usage, but if you’re scouring photos for tiny little details then being able to view the photo at the highest possible resolution can make all the difference. In this guide I’m going to show how to access higher resolution versions of images posted on Twitter and Instagram (including private Instagram profile pictures) by tweaking the URLs associated to the photo.
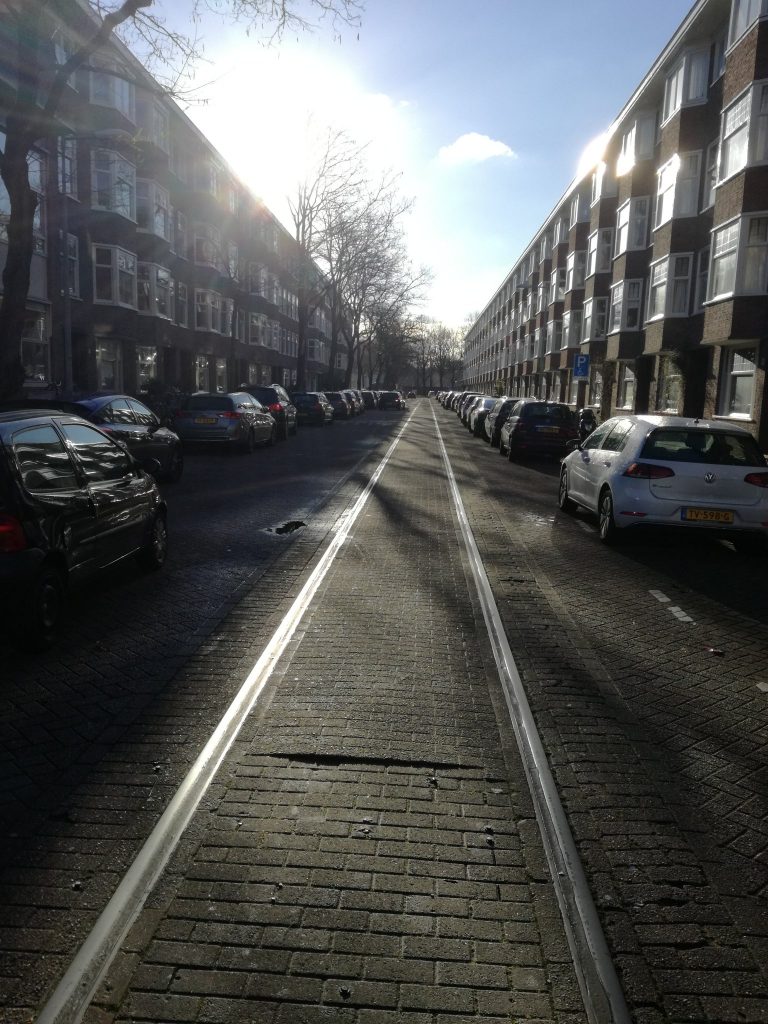
This is quite a straightforward method. In this example I’m going to use a photo taken on Hunzestraat in Amsterdam that was used in one of this week’s Quiztime challenges by Jura Luga:
After a hi-res version of an image is uploaded, Twitter compresses it slightly before presenting it to the browser, so when you view an image directly, you default to what Twitter considers to be the “large” version of an image – but this not necessarily the best quality. It is clearer if you look at the URL. To get the direct URL, right click on the image and select “view image”, or copy in the image URL into a new browser tab. This is the default URL for the image in the example above:
https://pbs.twimg.com/media/D6nWO_gXsAAJPUN.jpg:large
If you double click on this image, you’ll be able to zoom in for a better look, but it is possible to get even more detail than this. Note that by default Twitter appends “large” to the end of the .jpg extension, and this is the default behaviour with all images. However it is possible to adjust the URL and replace “large” with “orig” to get a link to the photo in the size it was originally uploaded in:
https://pbs.twimg.com/media/D6nWO_gXsAAJPUN.jpg:orig
Now when you double click to enlarge the image, you will get a much higher resolution than before which makes finding those important little details much easier. If you compare the results of the two different URLs above you can see the difference.
Instagram Pictures
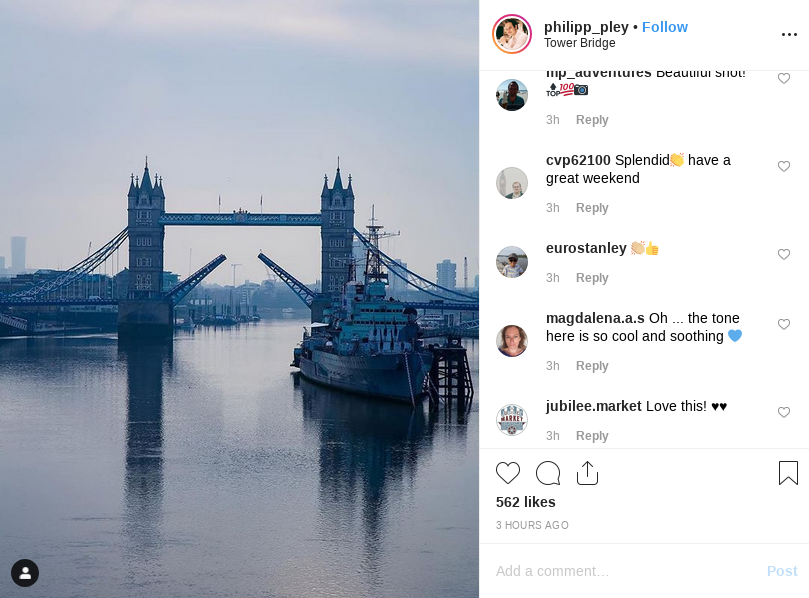
This is slightly more complex, but it works on the same principle. Instagram reduces the resolution of an image by default but by identifying the URL and adjusting it, it is possible to obtain a higher resolution image. For this example I’m using this recently posted image of Tower Bridge in London:
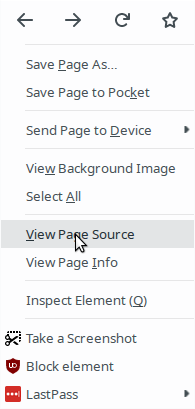
Once you’ve found the image you want a closer look at, right-click on it and choose “View Page Source”:
Now you can see the source code for that particular webpage. Don’t worry if you’re not an HTML/CSS expert – all we’re looking for is the URL of the image we want to view. Instagram prefixes the URL with the tag “og:image“, so by using Ctrl+F (Linux/Windows) or Command+F (Mac), you can quickly search the page source for the og:image tag and locate the full URL of the image. In the screenshot below I’ve highlighted the part we’re looking for:
![]()
So this tells us that the true URL for the image is this:
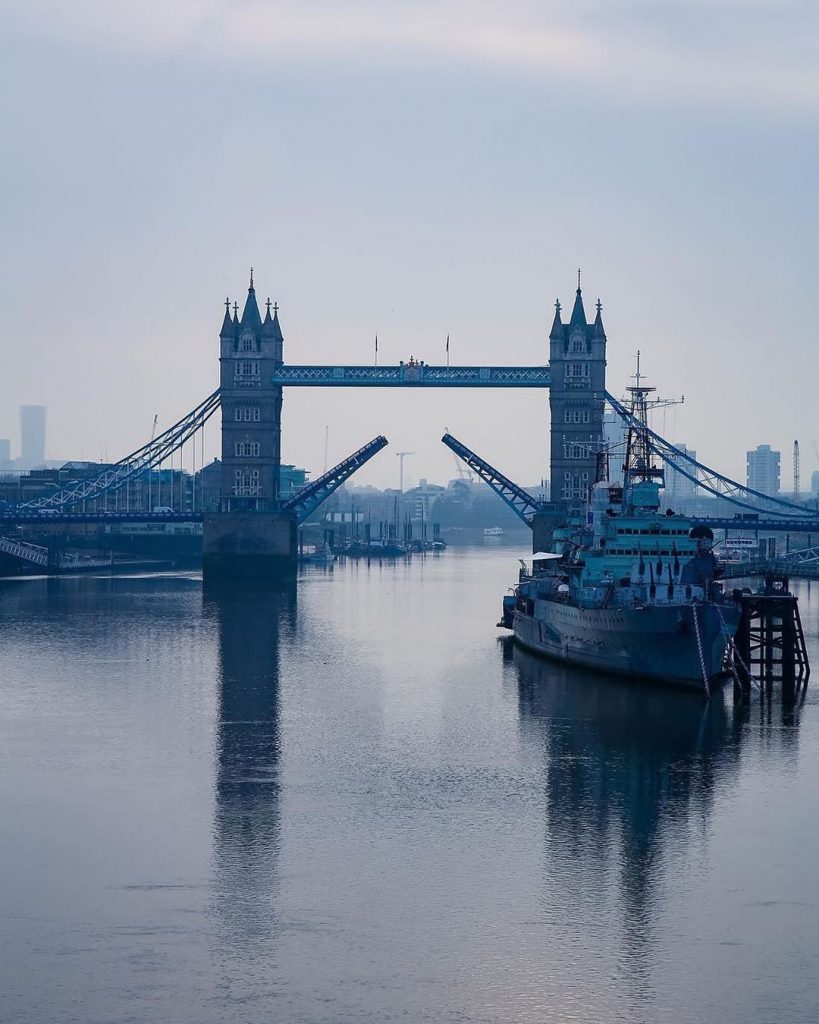
If you click on that link that you just extracted, you’ll now see a much larger version of the image that Instagram originally presented to you. In the URL for the image you can see the detail p1080x1080. This is the new resolution at which the image is displayed, and is much higher quality than the default Instgram settings.
Instagram Private Profile Images
This requires a slightly different technique to access the URL that you need to identify, but it allows you to view the hi-res version of an Instagram profile picture, even when that account is private. I should be clear that this does not allow you to see all images that are set to be private, but depending on the nature of your investigation it can still be useful to see the hi-res version of an Instagram profile picture.
For this example I’m going to use famous meme account @ShitheadSteve as an example. This is what his profile picture looks like when we right-click on it and view it:

It’s a pretty low quality image – just 150 x 150 pixels. In ShitheadSteve’s case, there probably isn’t much more we would see if we got an enlarged version of this image, but the technique is exactly the same for when we do need that extra level of detail.
This technique uses a kind of URL manipulation to access a JSON file that Instagram generates for all accounts – even private ones. In the JSON file there’s a link to the full-size image that we want to access in a similar way to the previous Instagram example above. The URL we need looks like this:
https://i.instagram.com/api/v1/users/USERID/info/
We just need to replace “USERID” with the correct unique user ID for ShitheadSteve. There are several ways to do this, but CodeOfNinja is quick and simple:
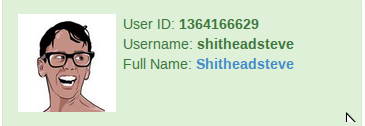
This tells us that ShitheadSteve’s ID is 1364166629, so now we can just add it to the URL get access to the JSON file:
https://i.instagram.com/api/v1/users/1364166629/info/
Now we can see profile data that contains the URLs for the higher resolution images that we’re after. Lower down the page there are no fewer than three links to different resolution versions of the profile picture:

You can see links for a 320×320, 640×640 and 1080×1080 version of the profile picture – all much better than the 150×150 version that Instagram presents by default. The fact that this is a private account does not matter. Simply click on the URLs to view the image. In this case the highest resolution version can be viewed here:
Not perfect, but definitely a huge improvement on the default settings. This make it much easier if there’s a detail in the background that you need to make out, or to help you get a close-up look at the stranger who just sent you a follow request.
This is great, but how do you do the picture enlarging for twitter profile pictures and not just pictures that have been posted?
Thanks